Naturally Dyed Easter Eggs
It’s that time of year again, where you can’t enter a store without seeing masses of chocolate Easter Bunny’s, eggs, and Easter candy galore. Does anyone remember those marshmallow chicks? … a staple in my grandparents’ place! Learn how to create naturally dyed Easter eggs that are healthy & fun!
I love Easter. It’s a time that signals spring is here, with the promise of sunshine and happy times with loved ones …and maybe a new spring outfit?!
I’m as happy as the rest of us to have a chocolate or sweet treat now and then but does the thought of all that SUGAR and chemically colored dyes make you cringe? Does me…(and signals that a headache is on the horizon).
I remember as a child how much fun it was to color eggs….mind you, I didn’t like to eat the boiled eggs back then!
A few years ago, I came across a video on how to make naturally dyed Easter eggs using flowers and leaves to give that extra creative edge! Mom was visiting so we took an afternoon to make them…and make some memories! They turned out great… had many laughs along the way…and breakfast for a few days…triple win!
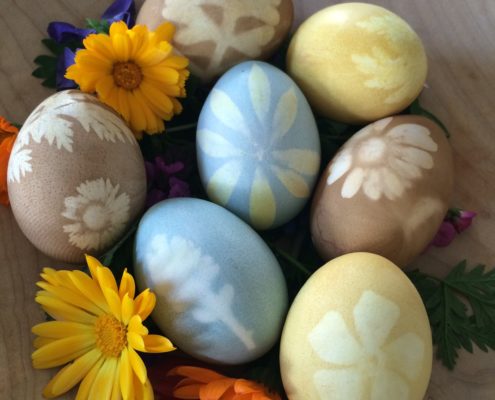
Off we went to collect some small flowers, twigs and leaves that would imprint nicely on our eggs. Great way to get in our daily walk and fresh air – it was chilly but we were prepared.
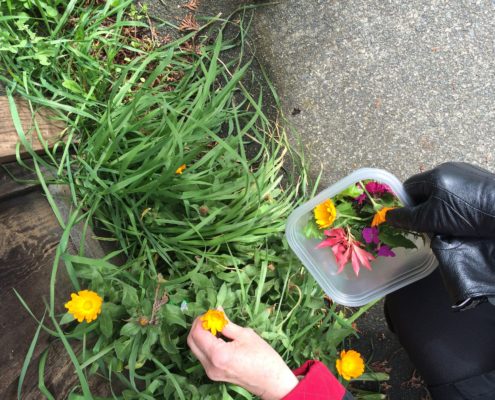
…ah Victoria in Spring! … not a bad collection…now to chose which ones to use!
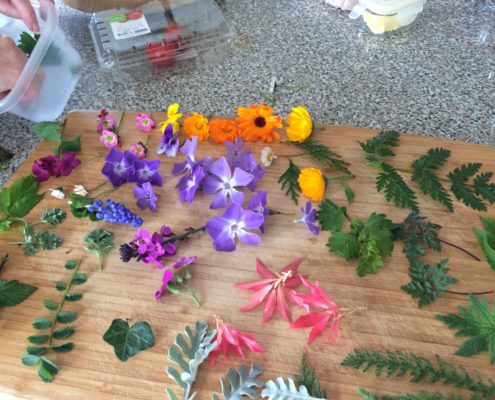
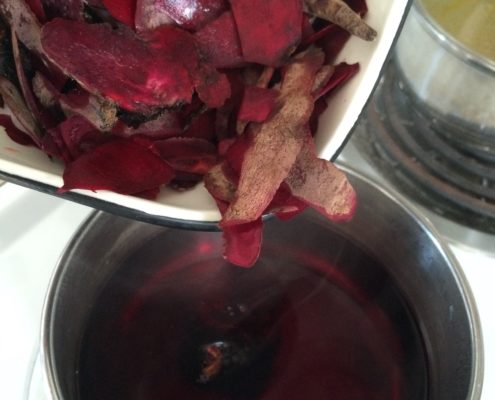
I had read up on the best natural dyes to use… beets for pink, purple cabbage for blue (yup blue!), turmeric for orange, onion skins for yellow. I wanted a green color so we tried a mixture of spinach and spirulina powder.
We cooked up some beets the night before for dinner and kept the skins to use, took skins off all my onions, grabbed a purple cabbage, mixed up the turmeric with water, and spirulina/spinach in separate pots.
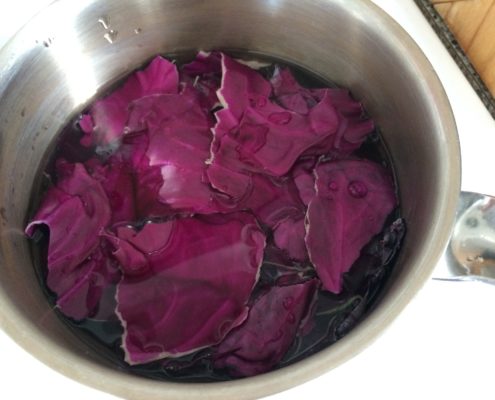
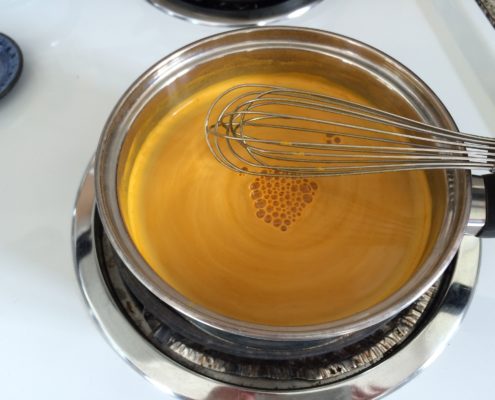
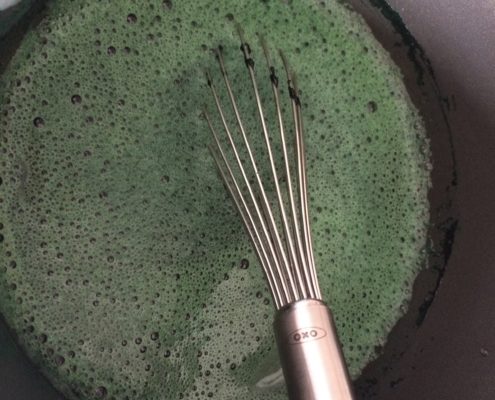
Then the fun began!
We took an old nylon stocking and cut it up to surround the eggs to hold our flowers and leaves in place.
The video we watched looked so easy! Ha! ..if only I had a known about Facebook Live back then …lol…we would have been able to share the truth with you! Imagine if you will, trying to place a fresh egg into a piece of nylon while holding flower petals around the egg..and then trying to tie the ends of the nylon!…lol … the best laugh was Mom holding one end with her teeth trying to tie the other end…we had scrambled egg that night!
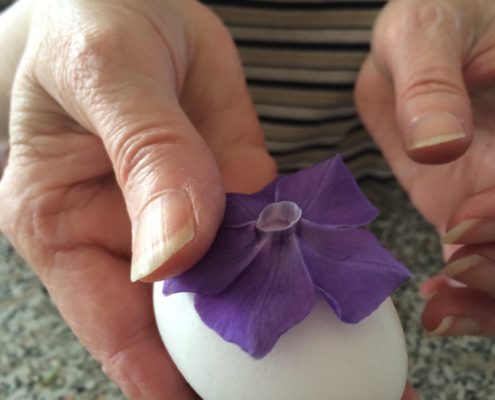
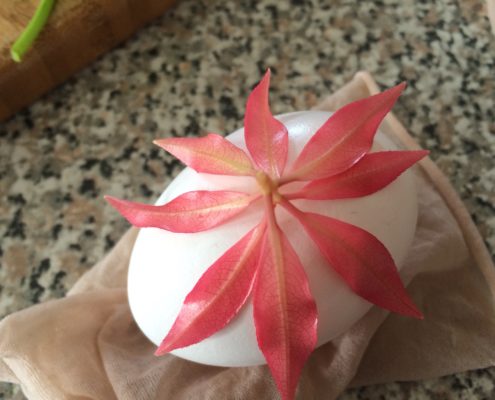
Well…we finally got the hang of it!
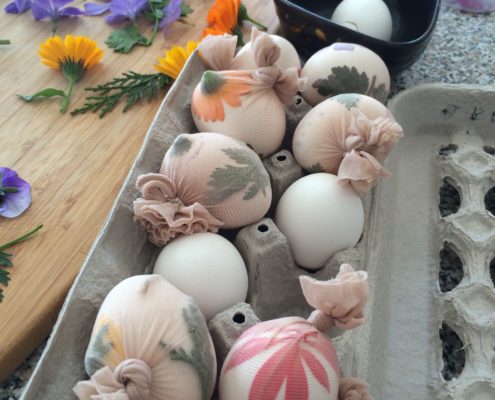
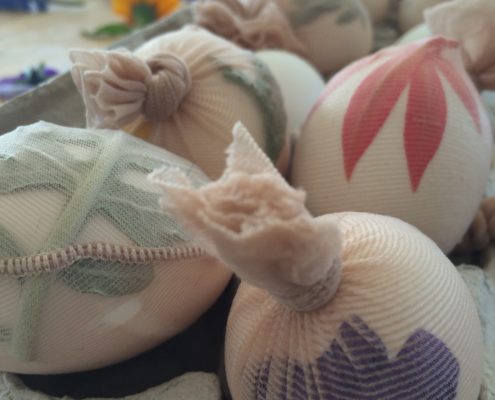
..and off to the pots of vegetable and spicy dyes to boil away and cook the eggs!
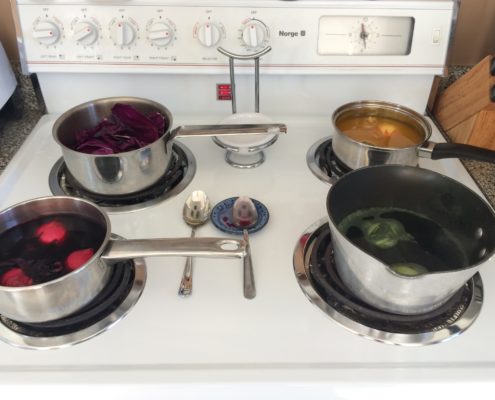
Once we brought the eggs to a boil, we let the eggs sit in the mixture to soak up the color. Later we read that if we had added a splash of vinegar into the dye it the colors would have taken hold better. A good tip for trying next year!
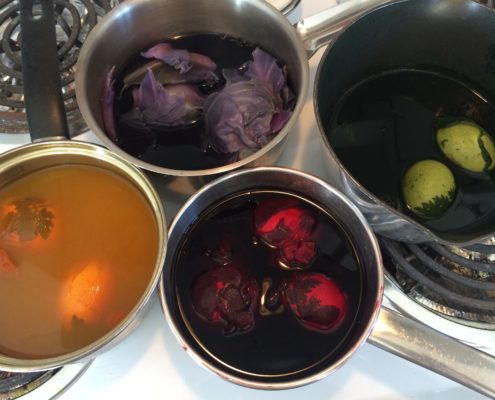
After a while of waiting and letting the eggs cool and set …we finally got to cut off the nylon!
…et voila! … they turned out better than expected!
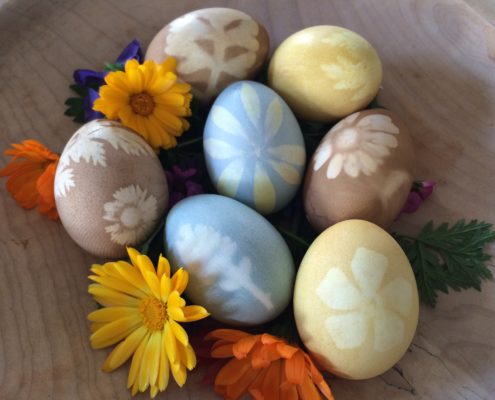
Purple cabbage and turmeric were the best colors in my mind. The spinach/spirulina did not work well … but as mentioned if we had added some vinegar we would have had a better outcome.
The eggs come out with a matte finish so if you’d like to shine them up you can rub some coconut or olive oil over the finished product.
Warning: The eggs were also dyed inside! …so upon reading after the fact – it would have been best to boil the eggs first then dye them! …lol..but then we wouldn’t have had as much fun working with fresh eggs!
In summary…and with likely a better outcome!
What you need:
- Natural dye materials (shredded beets, onion skins, turmeric, etc)
- Small flowers, petals, leaves or twigs for printing materials
- Cut up nude nylon to hold flowers in place
- Eggs
- Water
- pots for simmering ingredients and boiling eggs
- 1 tablespoon vinegar per dye color
- small bowls or mason jars
- coconut or olive oil (optional – for adding luster to eggs)
To make Easter egg dye:
- Bring dye matter and water to a boil. Turn heat down to low and simmer, covered, for 15-60 minutes until the desired color is reached. Keep in mind that the eggs will be several shades lighter so it’s best to go for deep, rich hues.
- Remove liquid from the heat and let cool to room temperature.
- Pour dye through a mesh strainer into bowls/mason jars and add 1 tablespoon of vinegar for each cup of dye liquid.
- Add hardboiled eggs to dye and place in fridge until the desired color is reached.
Directions for eggs:
- Add eggs to a medium pot and cover with cold water. Bring the pot to a boil. Once it’s rolling turn off the heat and cover the pot. After 10 minutes, place eggs in a bowl of cold water and let sit until they’re cool to the touch.
- Drain bowl and replace with warm, soapy water – I recommend to use castile soap. Gently rub eggs with a washcloth or your thumb to remove oils that prohibit natural dyes from adhering as effectively to the eggshell.
- Lower egg into the dye and place them in the fridge. Soak until your desired color is reached.
- When the eggs are ready, scoop them out with a spoon and place on a drying rack or an upside-down egg carton.
- Naturally-dyed eggs have a matte finish. If you’d like to add a little lustre, rub with a drop or two of coconut or olive oil.
References
mommypotamus.com/how-to-dye-easter-eggs-naturally-with-everyday-ingredients/


Share this entry